When traveling to ski resorts, you may notice skiers and snowboarders wearing the popular Kinco work gloves. Turns out, Kincos are a cheap and sturdy alternative to similarly styled, $100 gloves.
Materials
- Kinco Gloves
- Waterproofing Beeswax (Sno-Seal)
- Oven
- Baking Sheet
- Tin Foil
Waterproofing Steps
Pre-heat your oven to 150°F
- If your oven has a minimum temperature setting that’s higher than this, pre-heat the oven to the minimum setting and crack the door open a bit.
- Sno-Seal recommends a temperature of 120°F. I found that heating the oven a bit more helped with absorption. Keep an eye on the gloves and be sure not to burn them!
Prepare your baking sheet
- Line your baking sheet with tin foil and place your gloves palm side up.
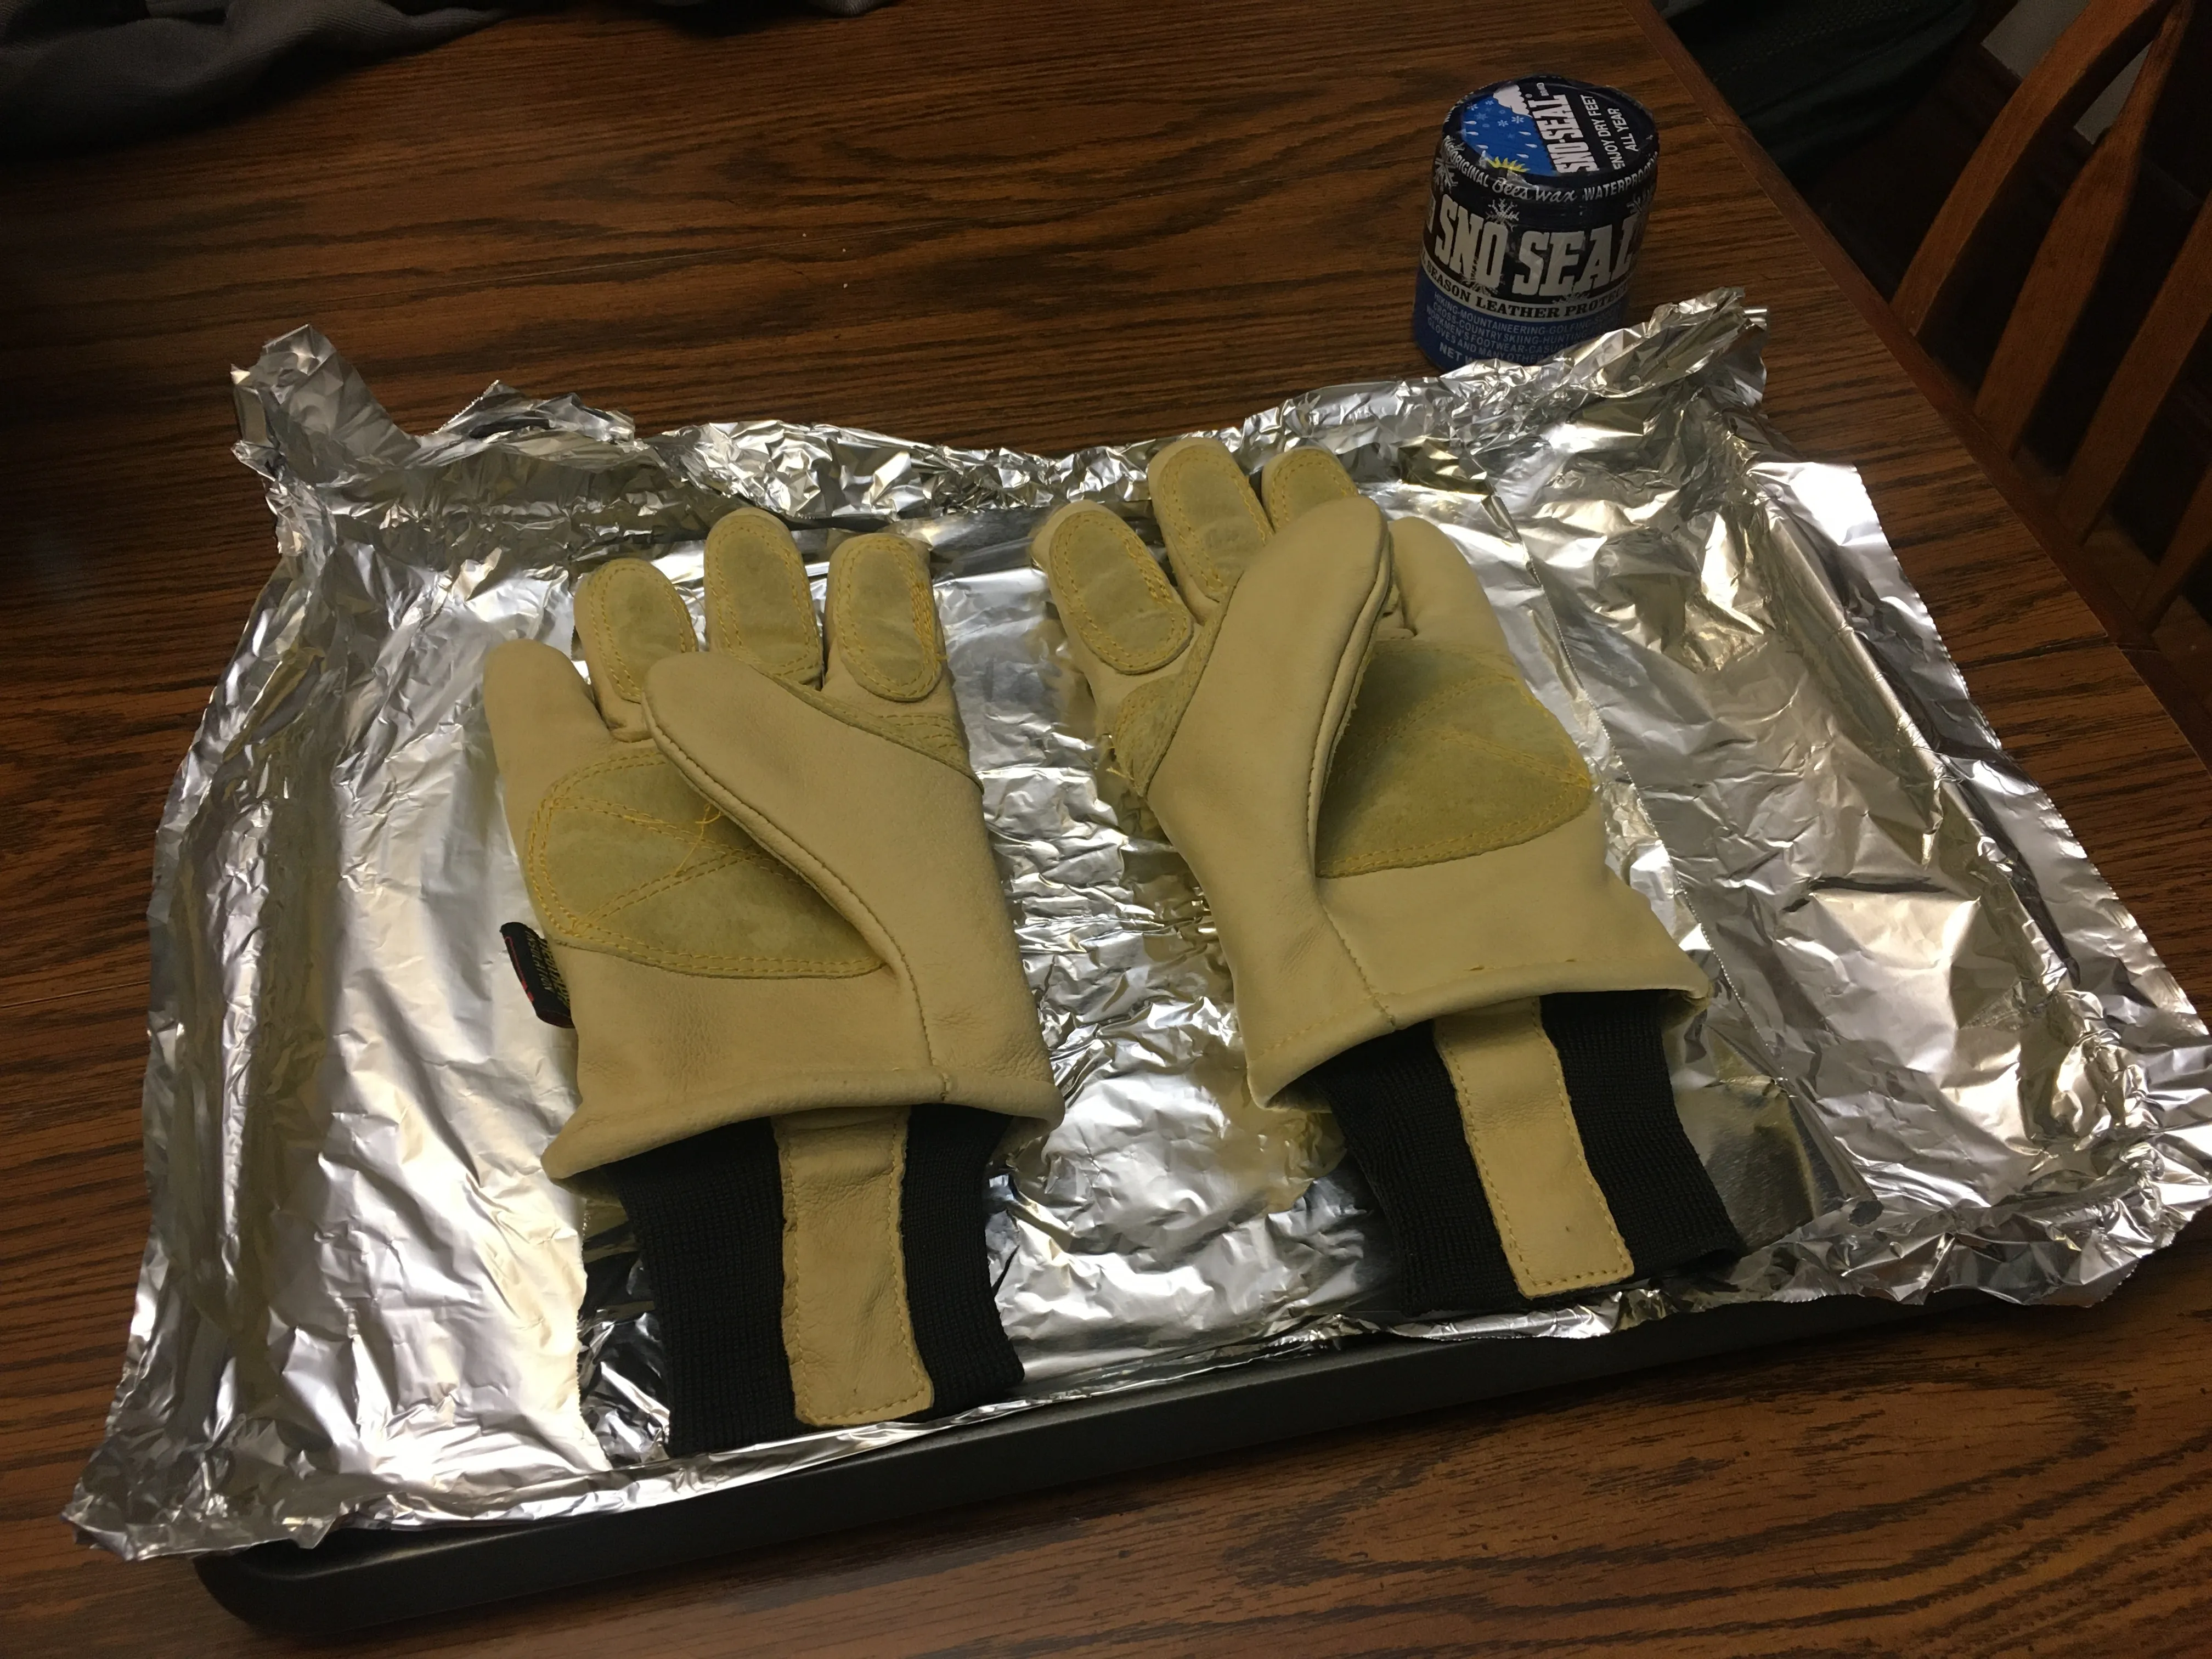
Bake gloves for 5 minutes
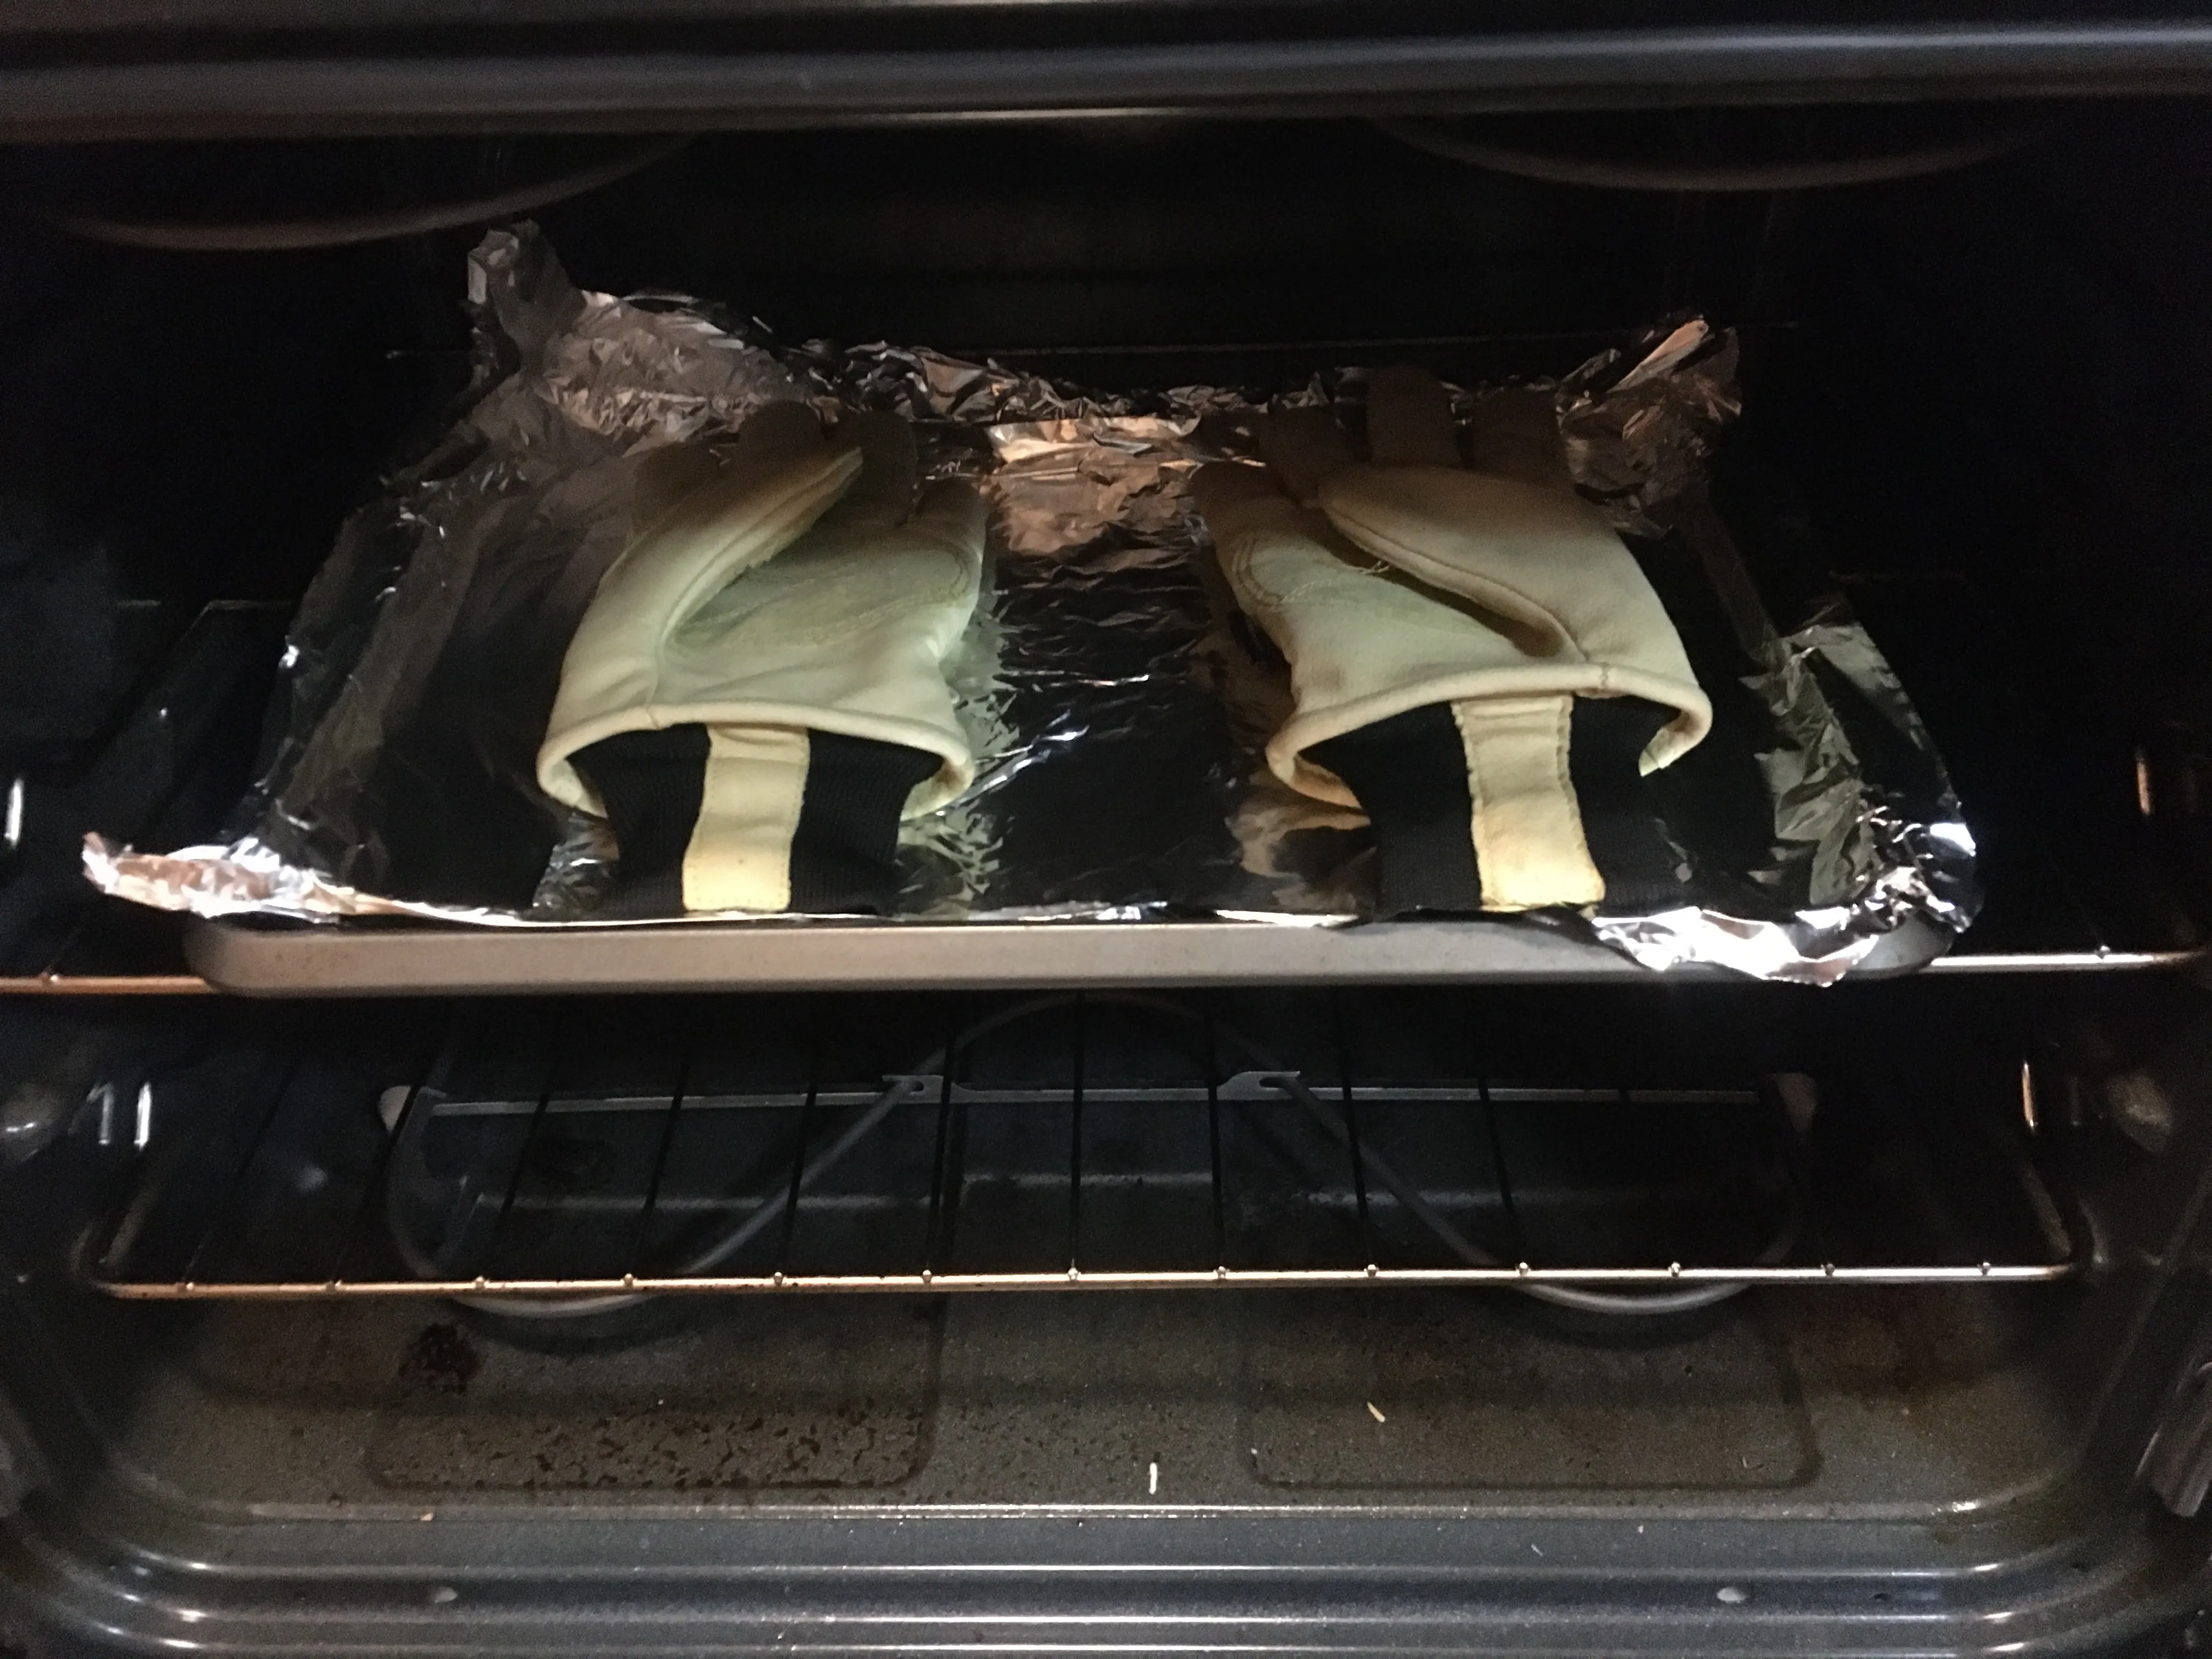
- Warming up the leather helps the Sno-Seal soak in and provide a water-tight seal.
Apply Sno-Seal
- Put on the gloves (they should be nicely heated, not too hot), and flex open your fingers to open the pores in the leather.
- Take a healthy amount of Sno-Seal from the jar. Using a hand-washing motion, apply the wax to all areas of the gloves.
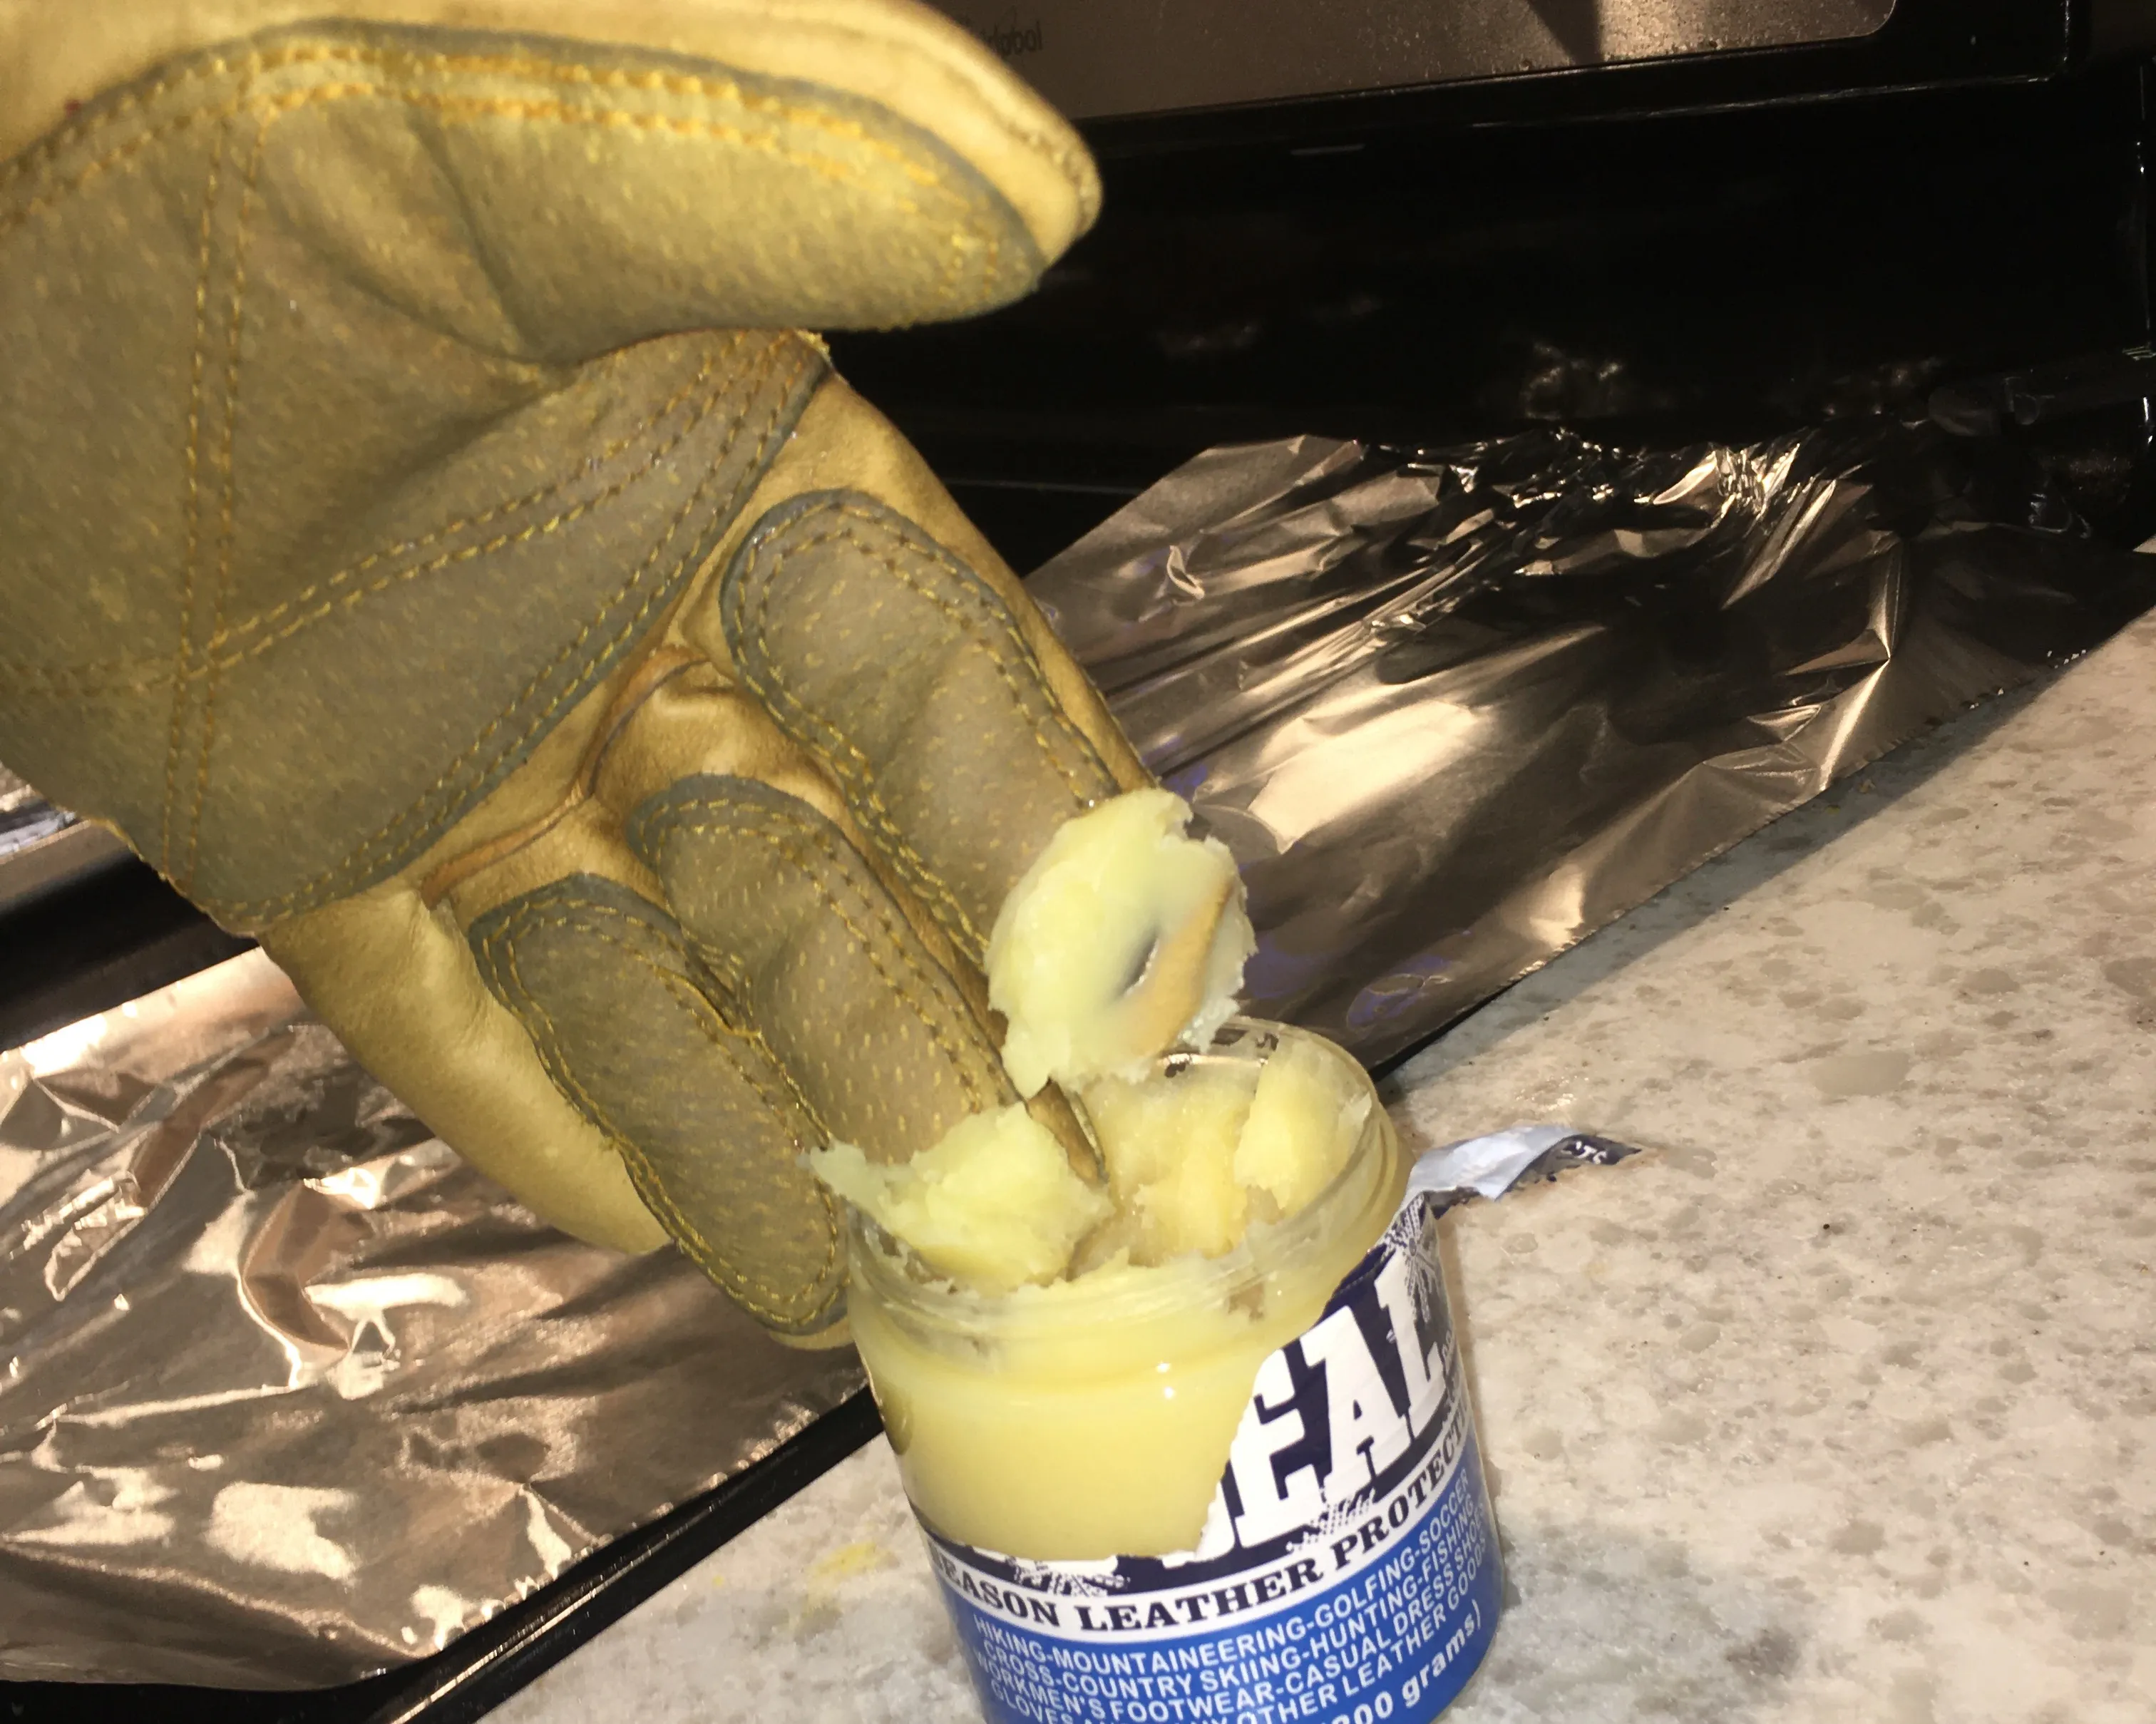
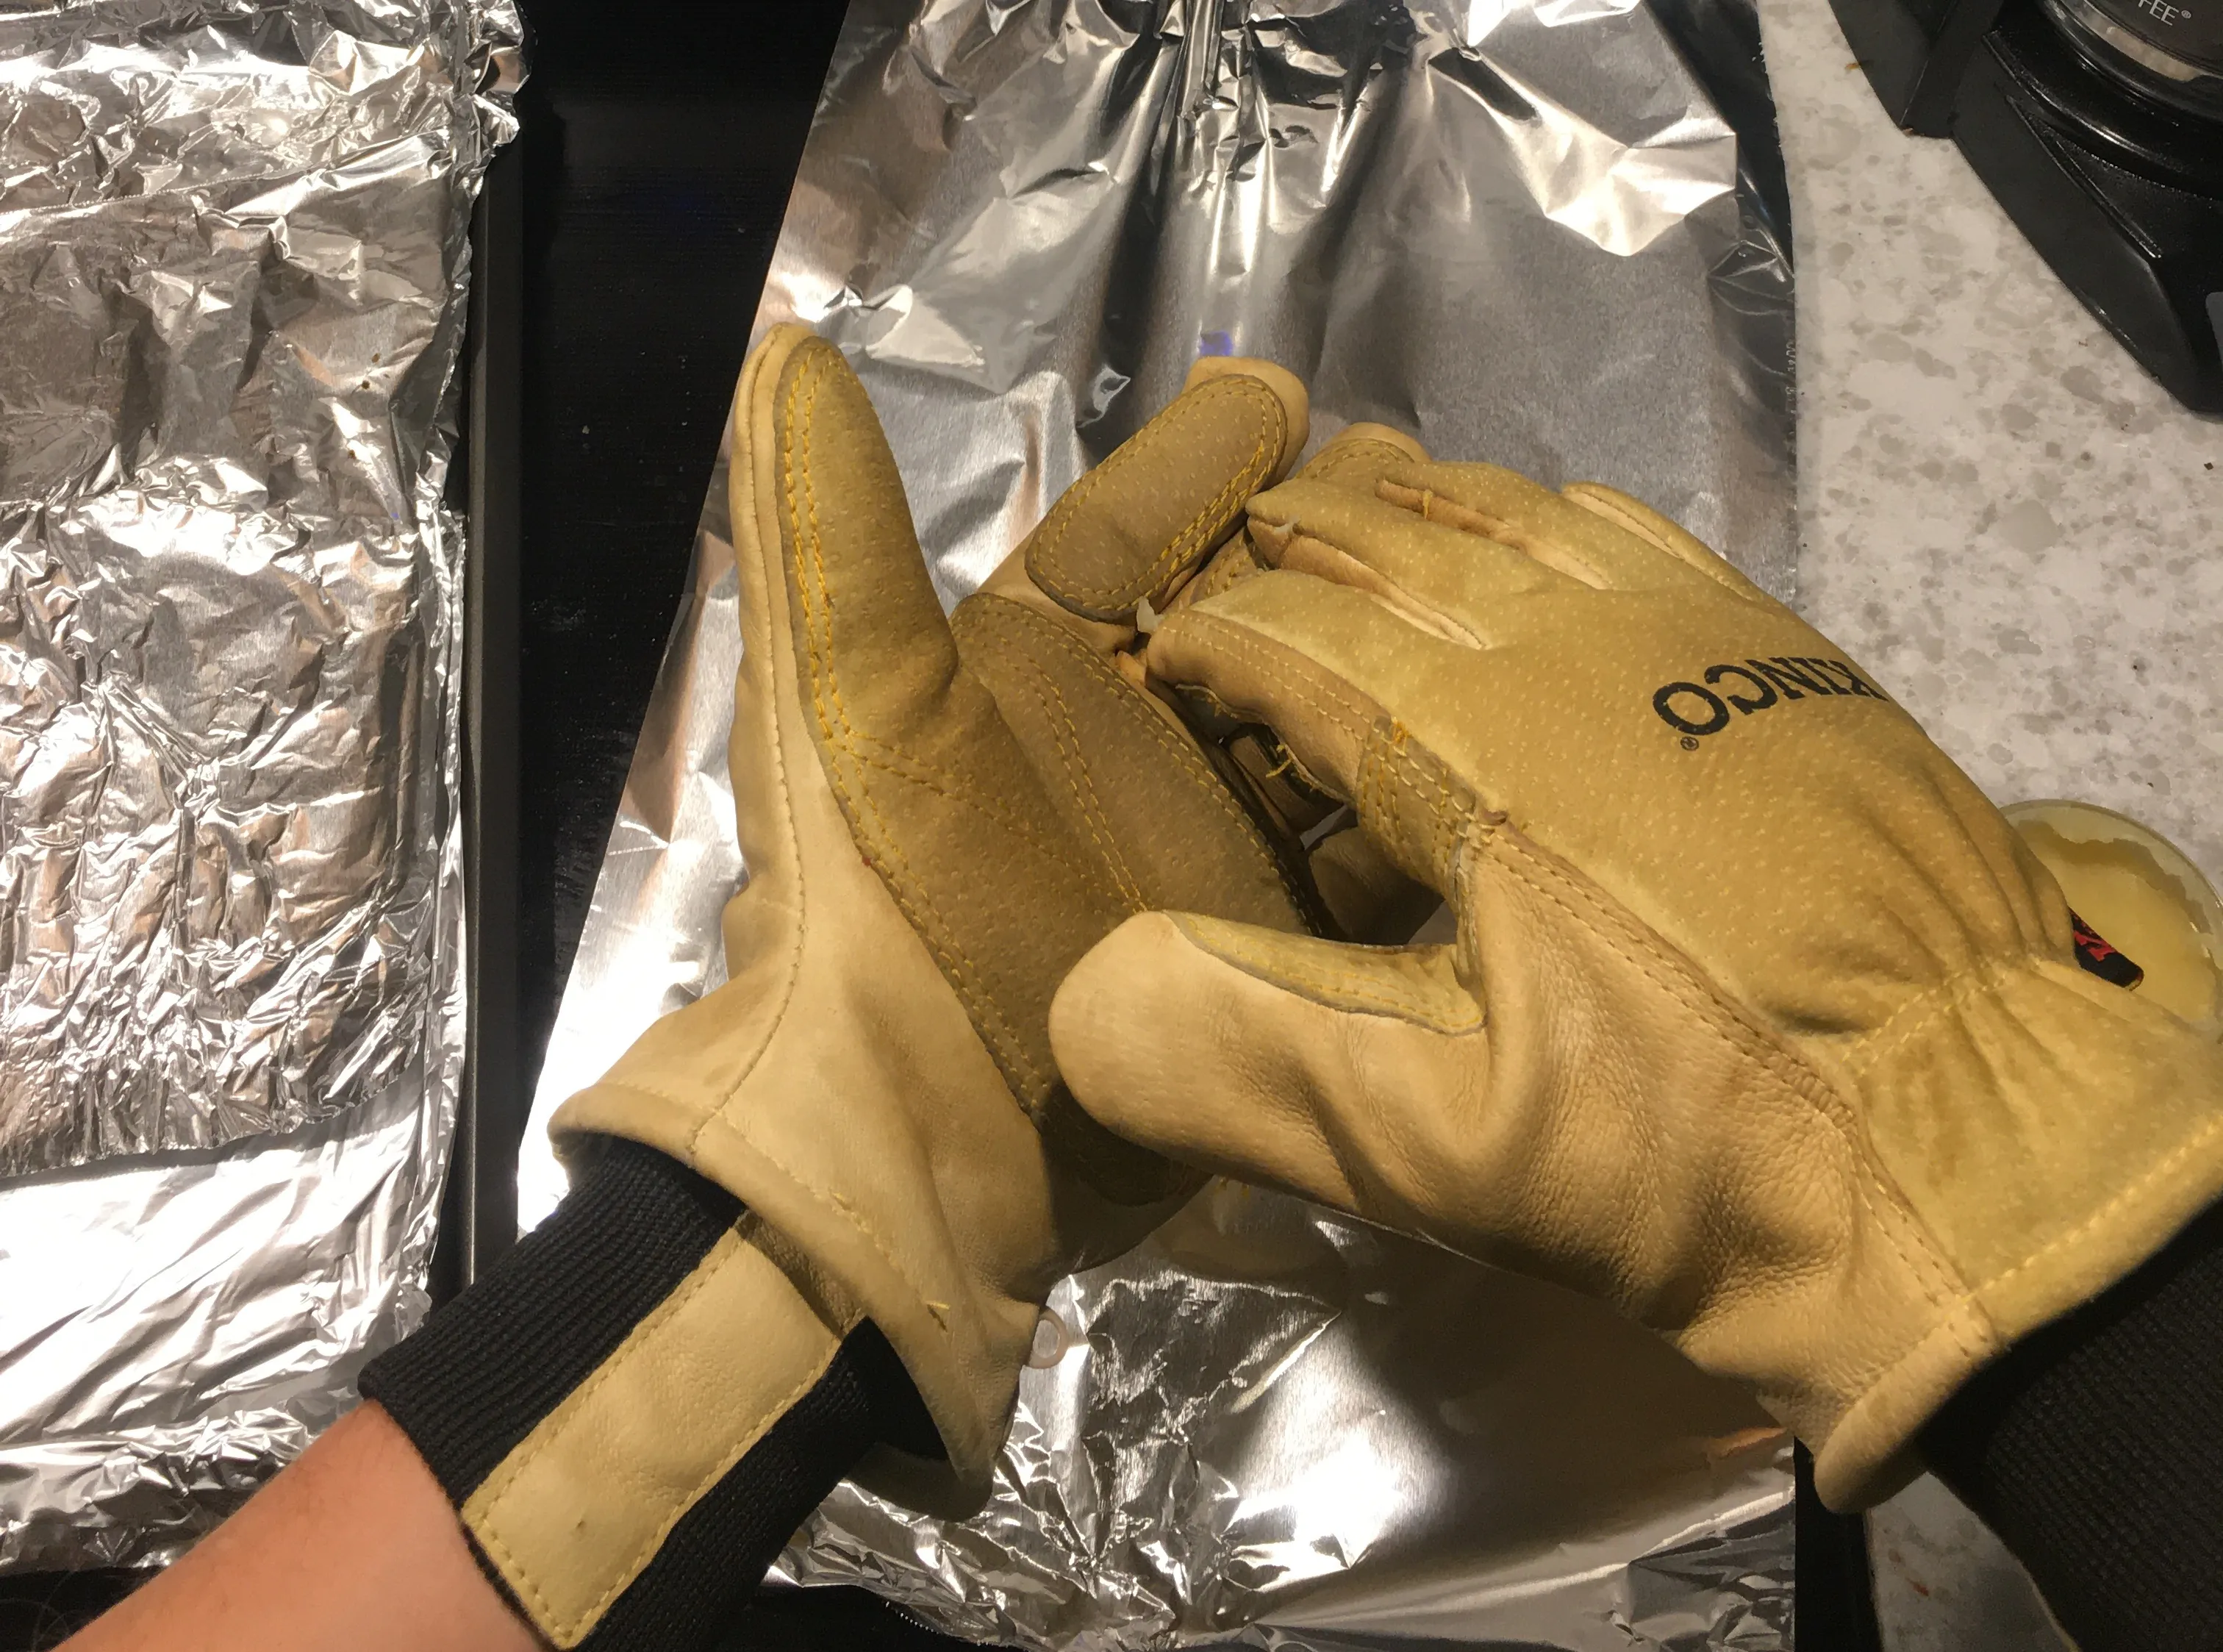
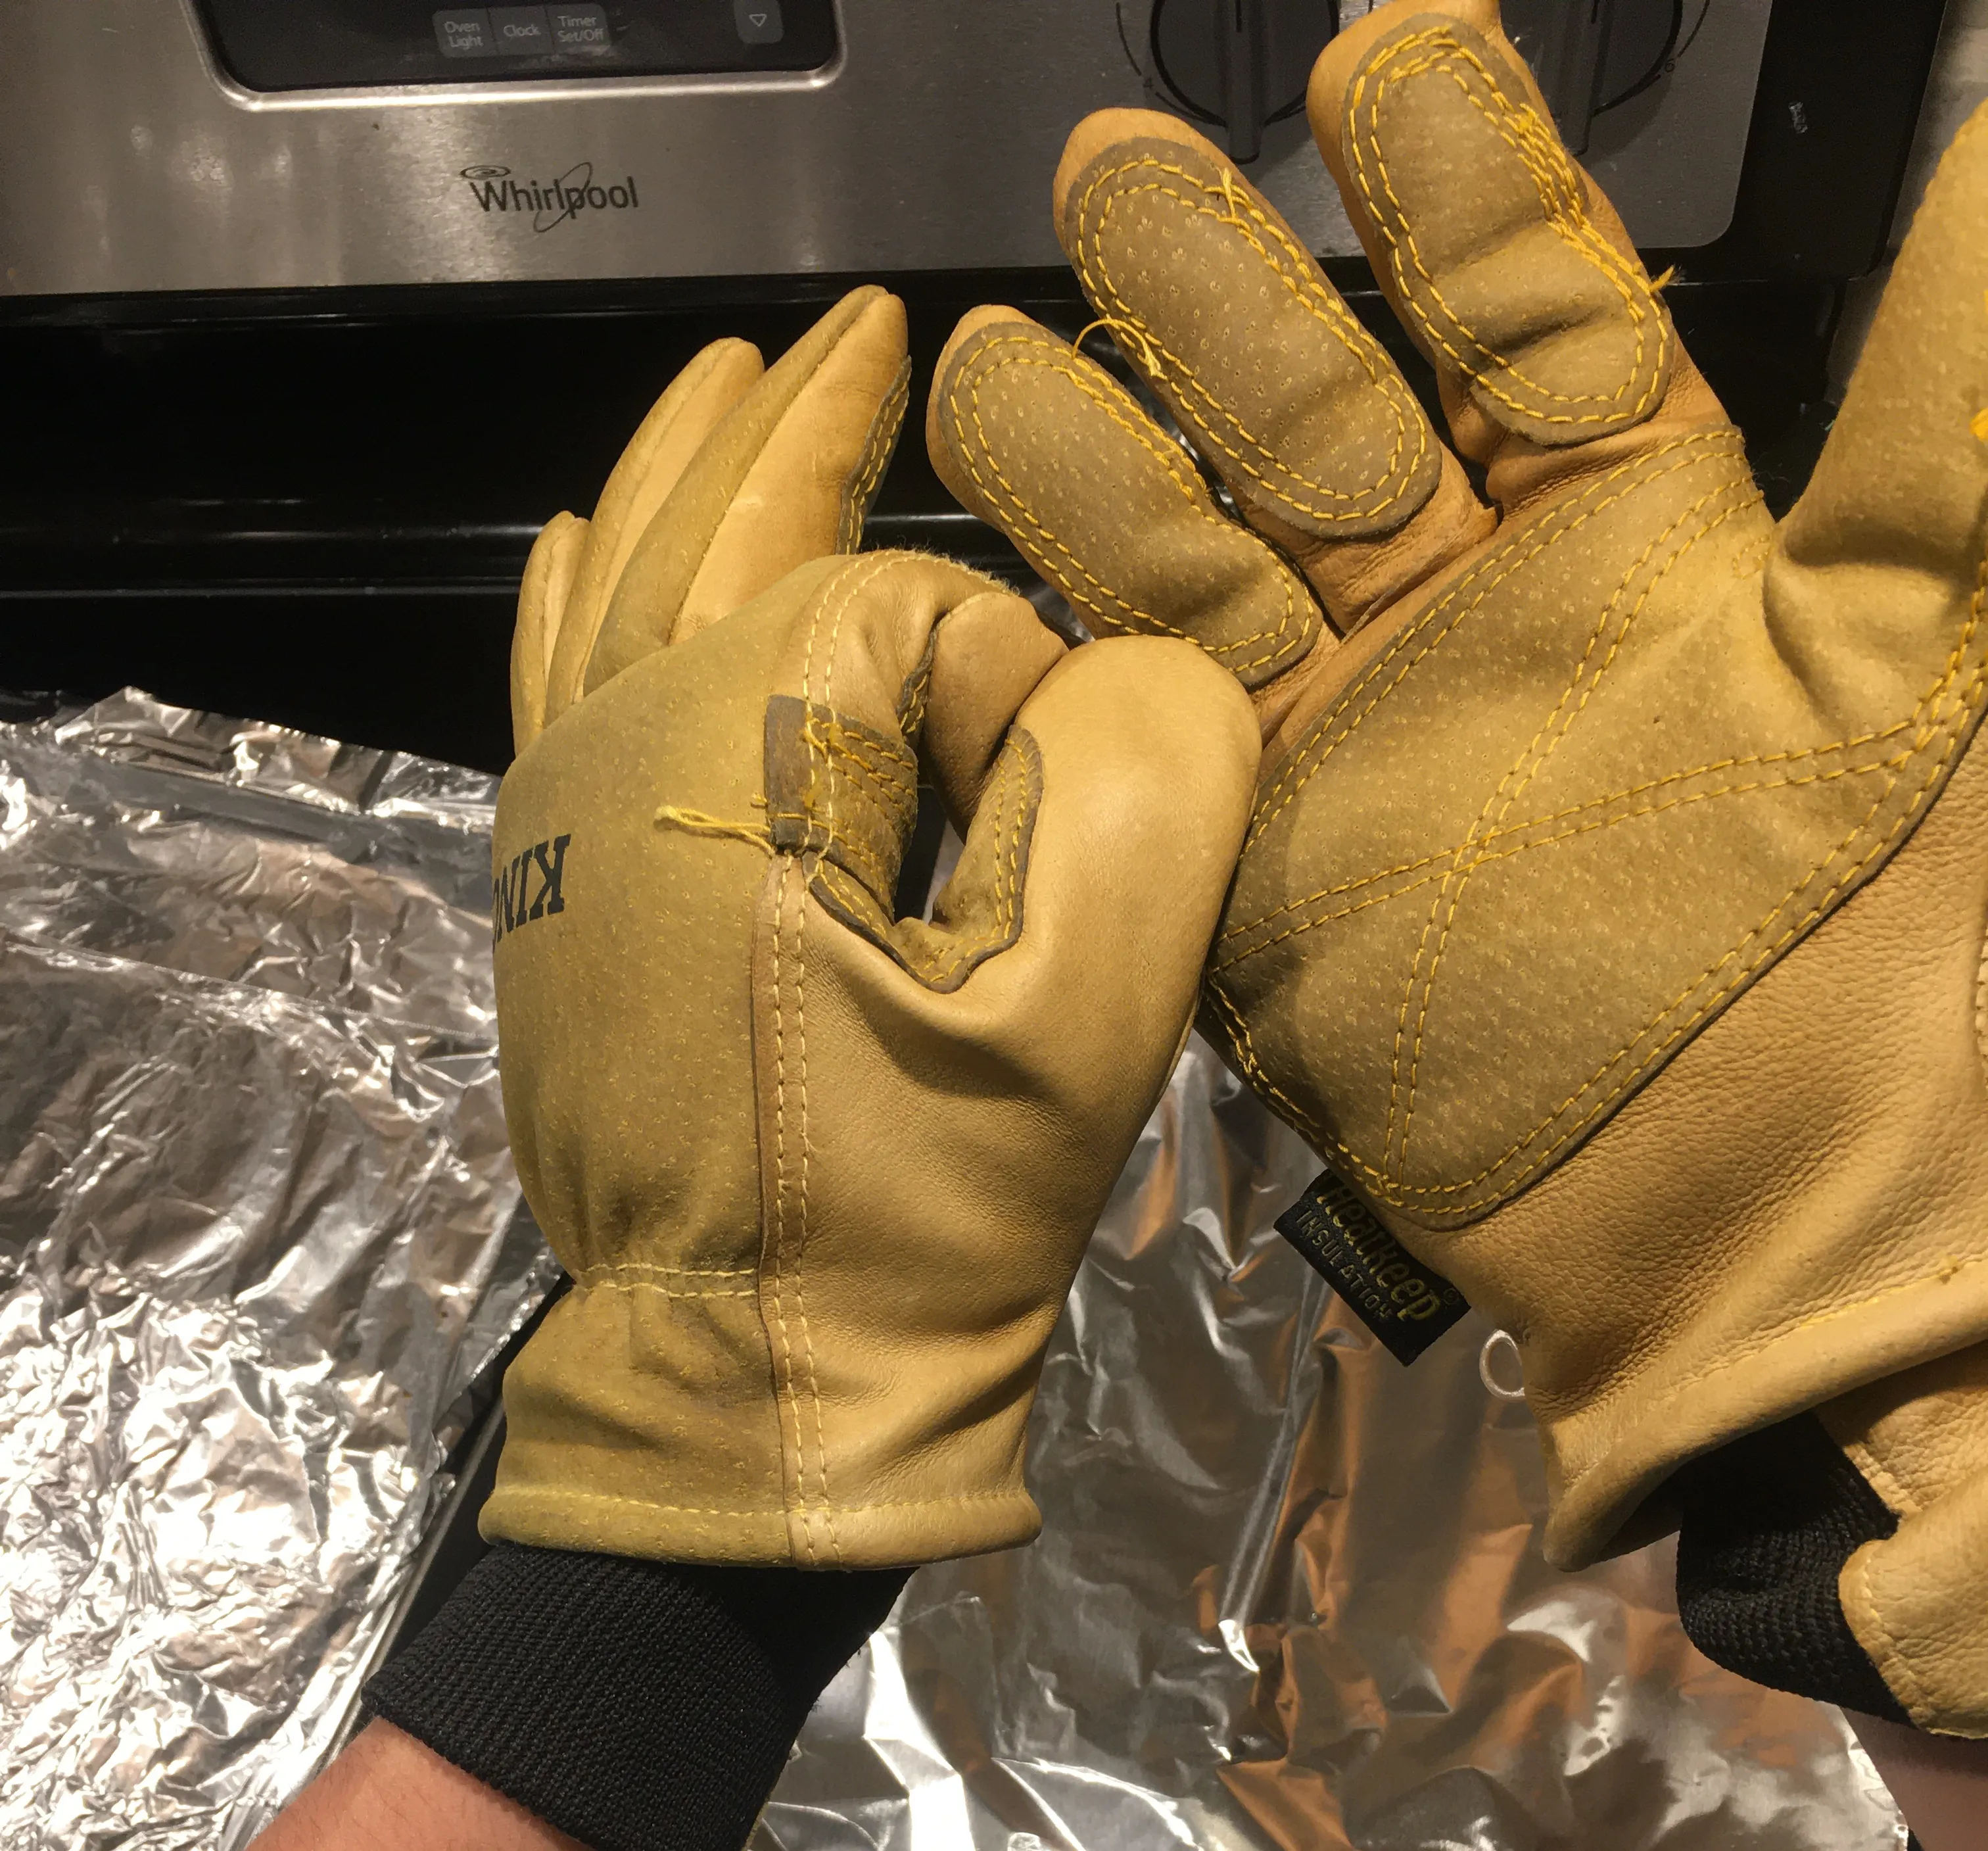
- Don’t forget the seams!
Place gloves in oven to set wax
- Warm the gloves for 5 minutes to help the wax soak in and to prep for another coat.
Repeat process 2-3 times
- When the gloves no longer absorb the wax, they are fully waterproof!
- Buff excess wax with a clean rag.
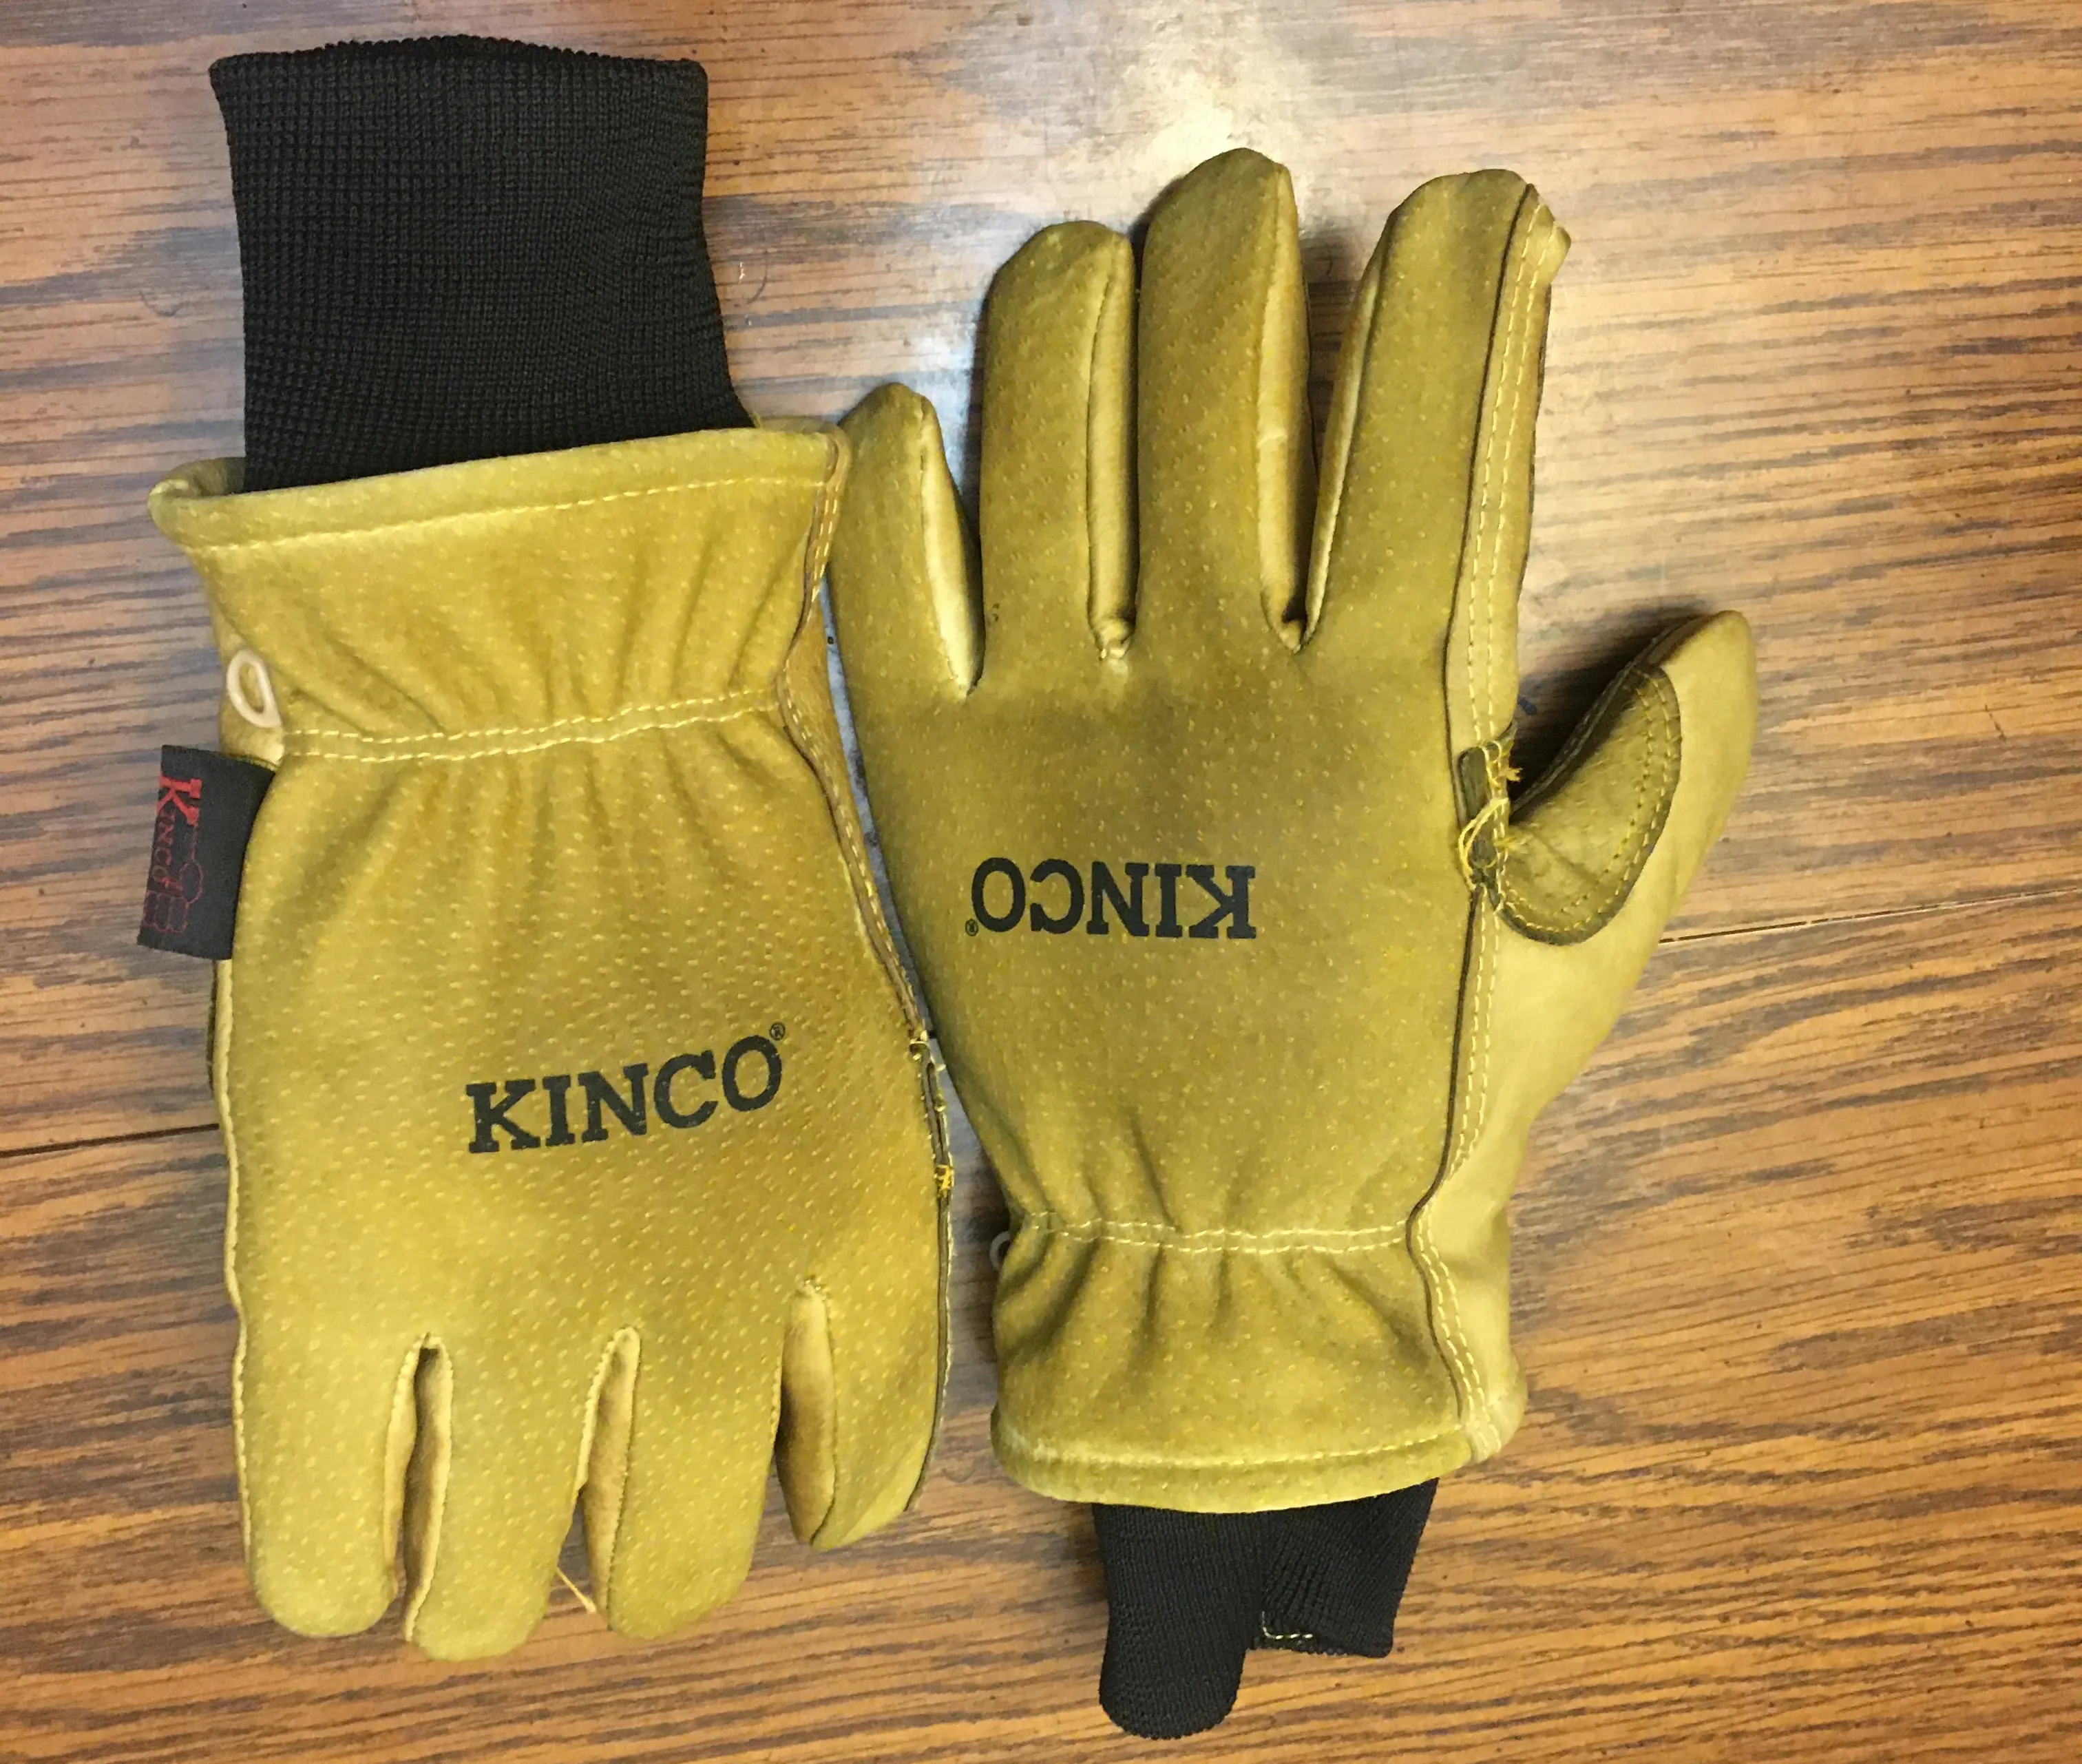
- Have fun this winter with your new, waterproof gloves!